
Our site tracking feature can be an incredibly powerful part of your marketing automation. This guide tells you all about it and how to set it up.
In our migration guide, we say that using our site tracking is imperative for success. If you don’t believe that now, we hope the following guide convinces you.
In it, we define the site tracking feature, discuss its purpose, and tell you how to set it up and make sure it’s working correctly.
Site tracking records all essential actions that contacts take on any of your web assets and third-party tools. When we say “all essential actions,” we mean it.
As shown in the above screen recording, Nurturelabs CXP users can segment contacts according to six essential site actions:
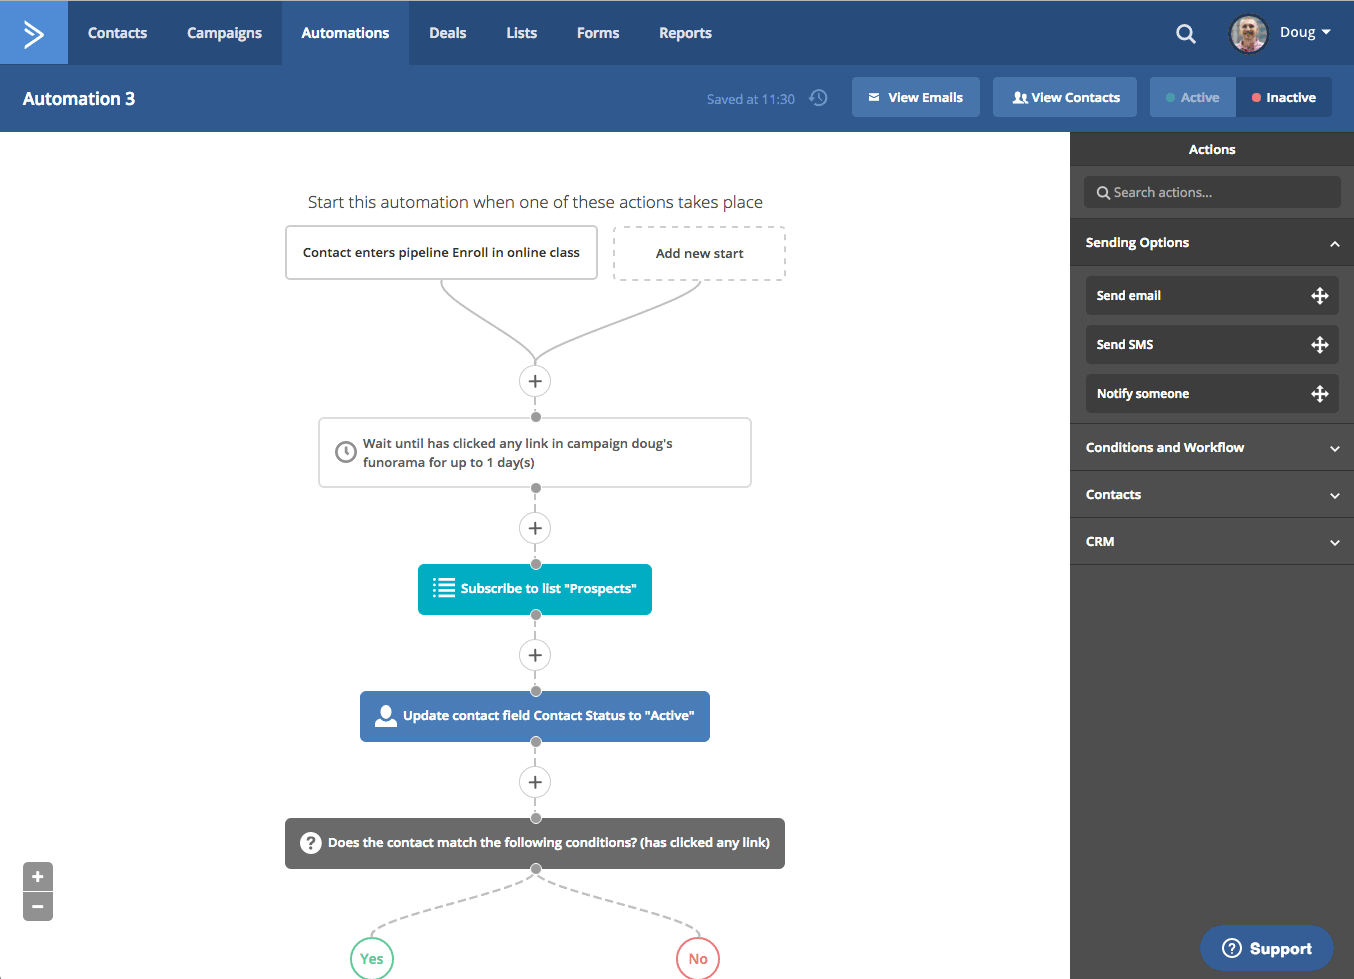
The segment builder, which can be found throughout the platform and is shown here in an automation, allows you to further define the actions you wish to isolate.
If we add the above condition to our automation, we will target contacts who have visited the URL “mydomain.com/aboutme” one time.
We start with the action “Has visited” and can choose if we want to focus on visits to a certain URL or domain. You can specify if you want exact matches of the URL/domain or if URLs/domains that merely contain whatever you type in the empty field will suffice. In the empty field, you type in the URL or domain you wish to track visits to. Lastly, for the “Has visited” action and the “Has not visited” action, our segment builder empowers you to target contacts based on the number of visits they make to the URL or domain you choose to isolate.
You can apply similar flexibility to each of the six essential actions, and we encourage you to do so. The ability to perform site tracking at such a granular level is unique to Nurturelabs CXP. For the remaining four actions, the segment builder has only three pieces of data to configure (it removes the frequency field).
Note: If you properly setup site tracking, you do not have to create tags or use custom fields to store such data. The platform automatically stores that activity for you, and you can easily use the segment builder to target contacts accordingly.
You can also filter contacts according to site tracking data on the main “Contacts” page. Simply follow the behavior in the below screen recording to access the segment builder.
Also, as seen in the below screen recording, you can monitor individual contact activity in the “Recent Activities” stream on each contact record.
Above all else, site tracking allows for advanced segmentation. By using the segment builder in automations, you can automate the grouping of contacts who perform actions on the sites or pages that you wish to isolate. As is the case with automations, you can also automate any messaging such contacts receive.
So, at the end of the day, site tracking empowers you to practice behavioral-based marketing. It allows you to personalize at scale and engage with contacts based on the actions they’ve taken on your web assets and third-party tools. The more targeted your marketing is, the more likely you are to achieve your ultimate business goals.
The potential worth of site tracking is immeasurable. Here are just five scenarios where site tracking data could prove valuable:
We’ve told you what site tracking is. We’ve told you why it matters. Now, let’s show you how to set it up.
The good news is that setting up site tracking is extremely easy. However, you need to understand what is needed for site tracking to work properly. If you don’t, you might think your site tracking is broken, when in reality you did not configure it correctly.
In our migration guide, we suggest that site tracking setup should be one of the first tasks you complete. To do so, you need to do three simple steps. All of them take place under the “Tracking” section of your settings page. The below screen recording demonstrates all three steps.
First, you turn on your site tracking. Then, you add your domain. Lastly, copy and paste the auto-generated “Tracking Code” into the footer of your web assets and third-party tools. Once you do that, Nurturelabs CXP tracks any action that contacts take on those sites and their pages for as long as they exist in your database.
In order to act on site tracking data, contacts must either submit information via an Nurturelabs CXP form (third-party forms not included), or click on a link in a campaign email sent through Nurturelabs CXP.
We want to clarify the difference between the “Actions” category and the “Site & Event Data” category that appear in the segment builder.
The “Actions” condition refers to actions contacts take on messages you send via Nurturelabs CXP. The “Site & Event Data” condition is the one that pertains to site tracking. Use it to leverage actions that contacts take on your external web assets and third-party tools.
We hope you’re now as excited about site tracking as we are! The feature is powerful and can take your marketing and sales automation to the next level.
Still confused? Feel free to ask us questions in the comments. Also, let us know what you use site tracking for!